


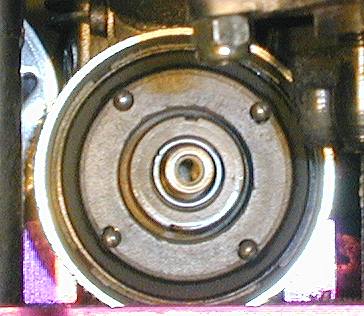
Installed clutchbell, and pinions (not shown).


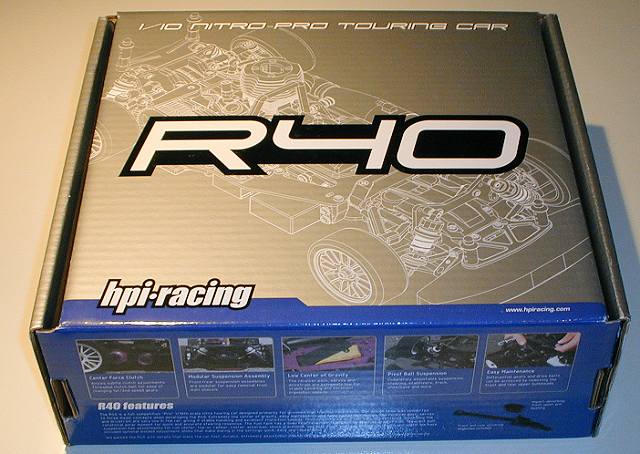
| The retail box. |
| ||
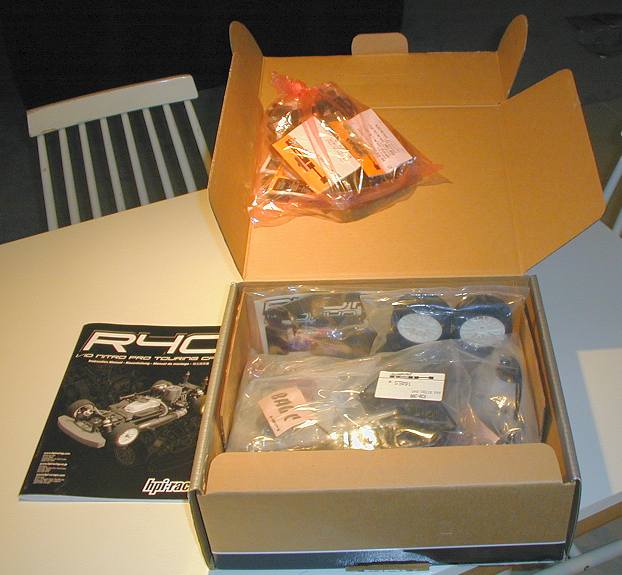
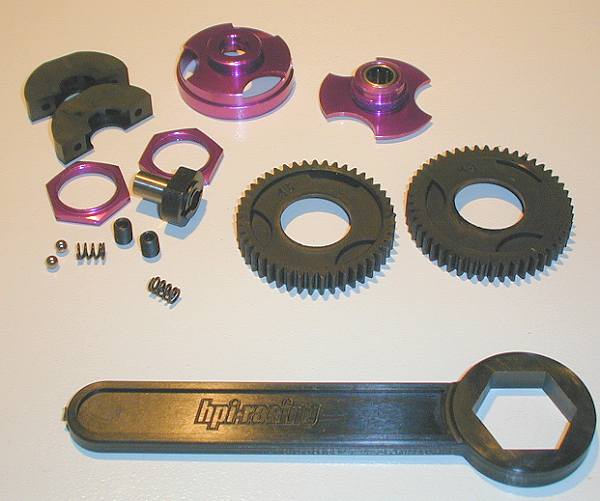
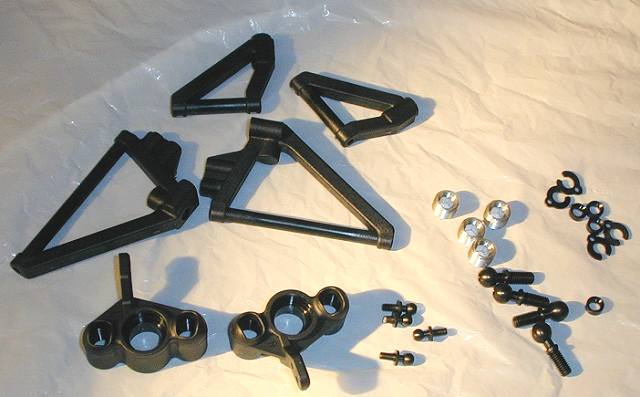
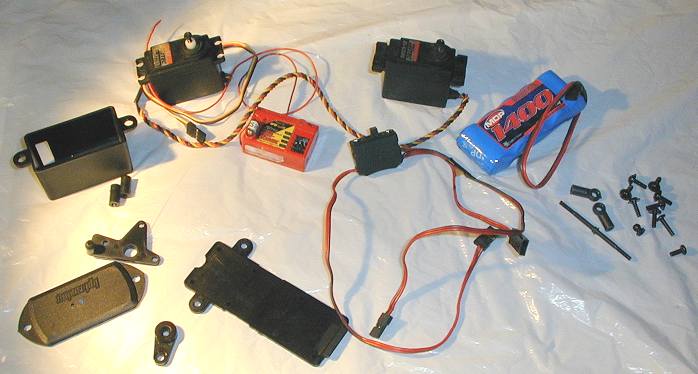
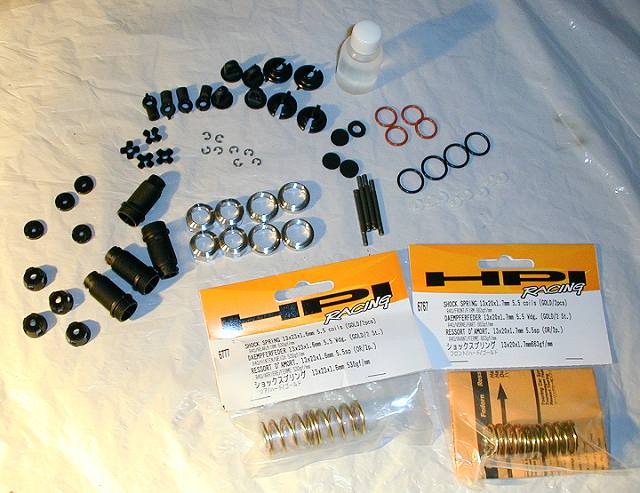
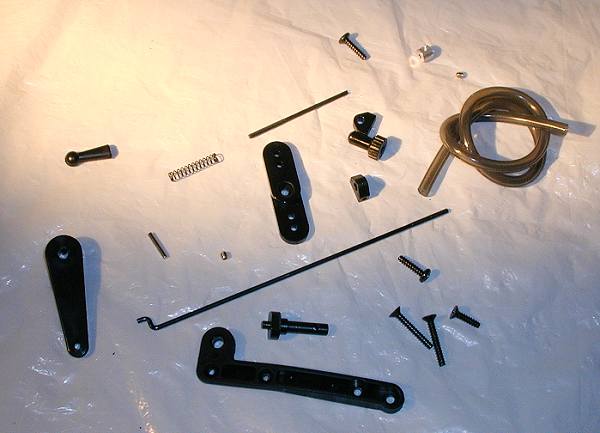
| Parts and upgrades. |
| ||
| Ready to start. |
| ||
| First step is to glue the brake pads. |
| ||
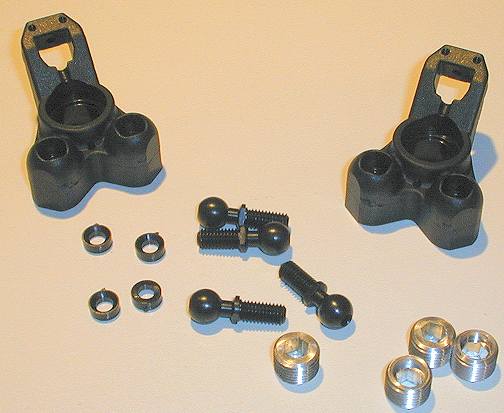
| Assembling rear hubs. |
|
| |
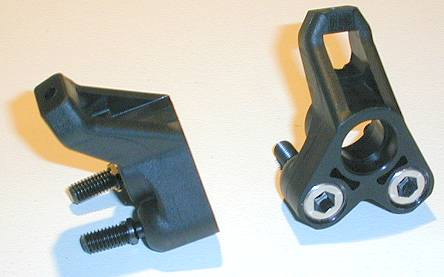
| Installing droop and bump stop screws on the rear arms. Mounted the hubs on the arms. |
|
| |
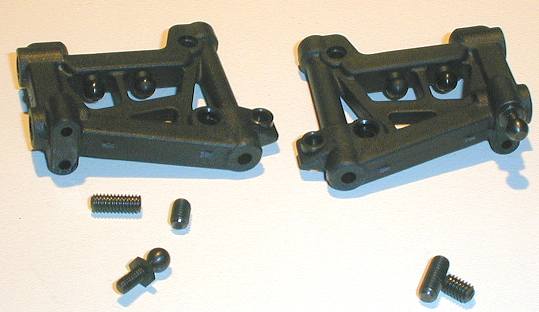
| Assembling rear arms on hinges. |
|
| |
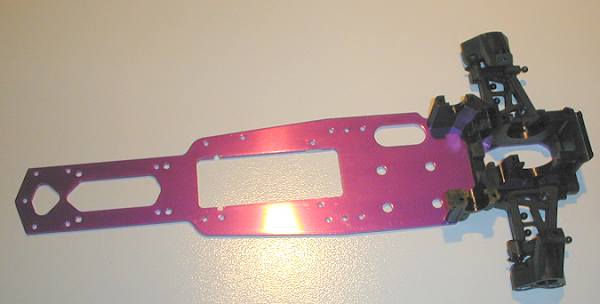
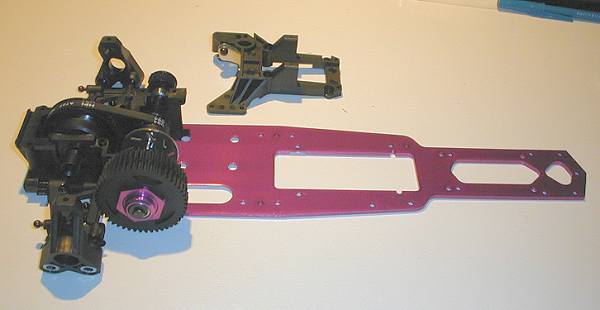
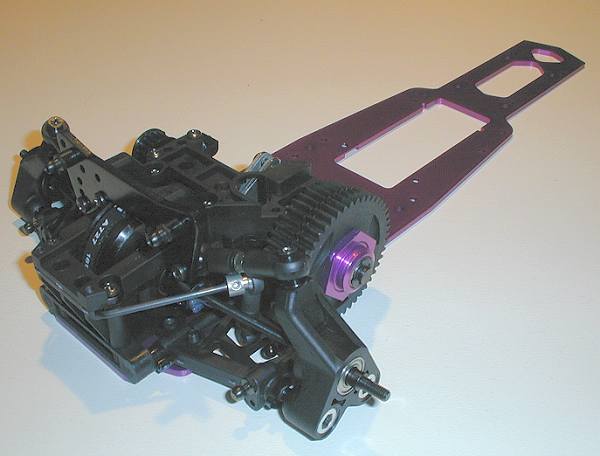
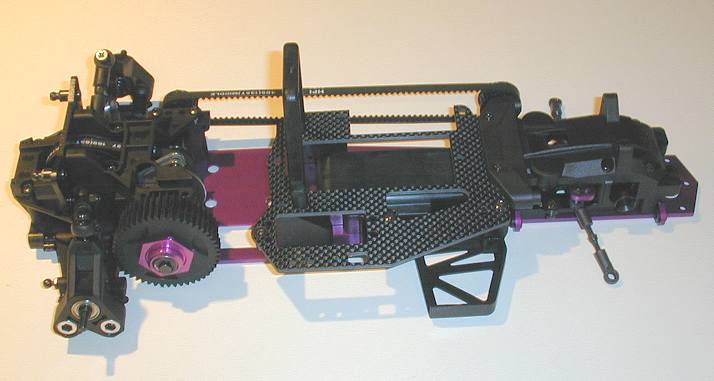
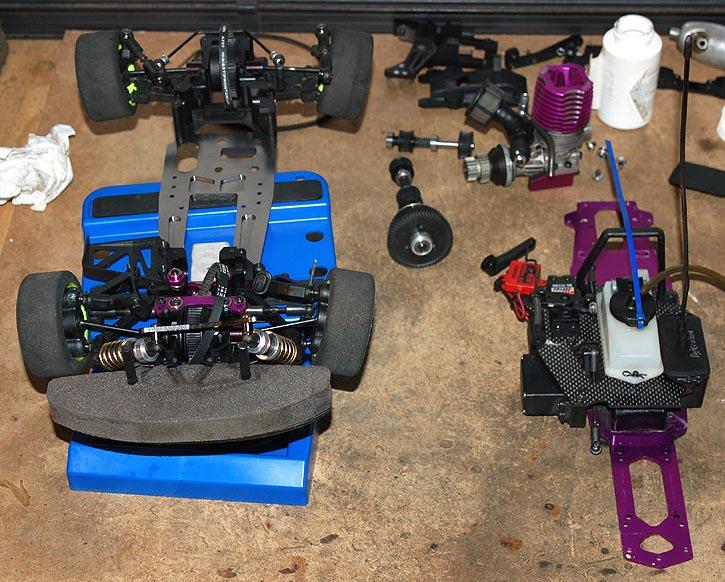
| Chassis. |
| ||
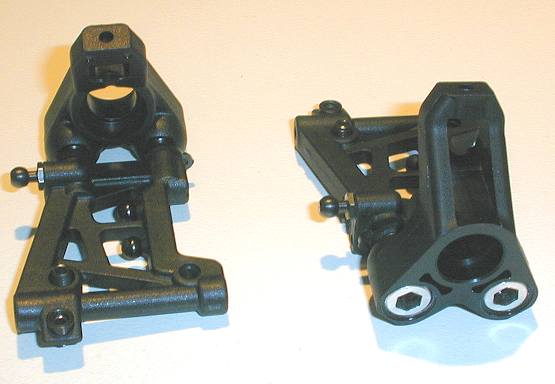
| Rear suspension on chassis. |
| ||
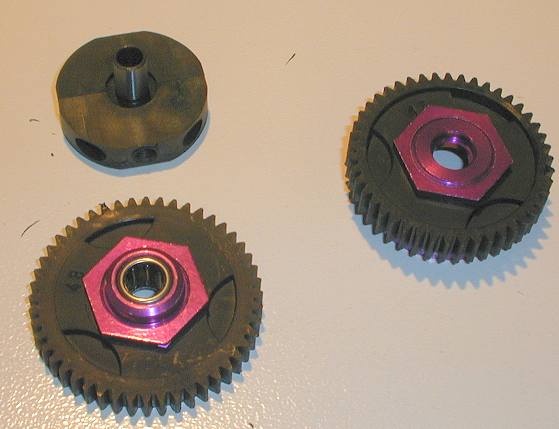
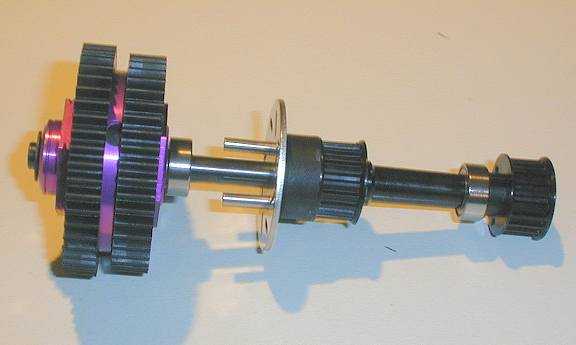
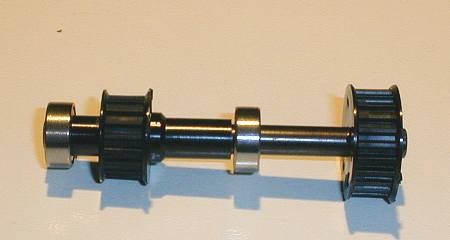
| Assembling 2-speed transmission. |
|
| |
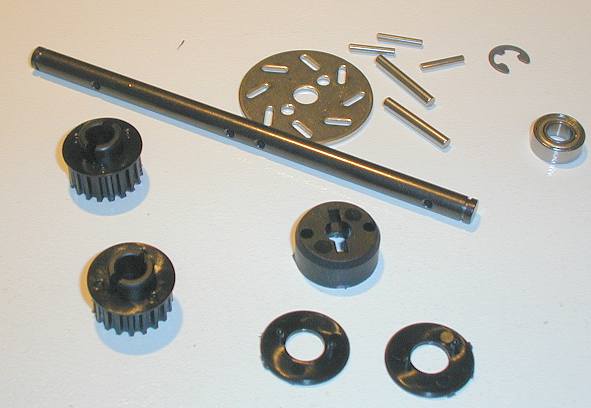
| Assembling transmission shaft with brake disc. |
|
| |
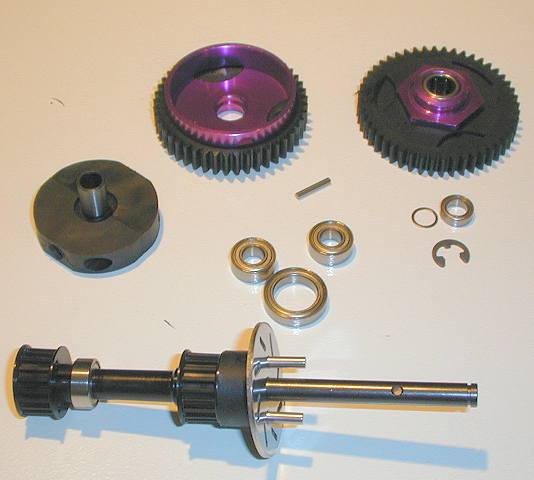
| Installing transmission on the shaft. |
|
| |
| Rear diff support and cover with brake pads. |
| ||
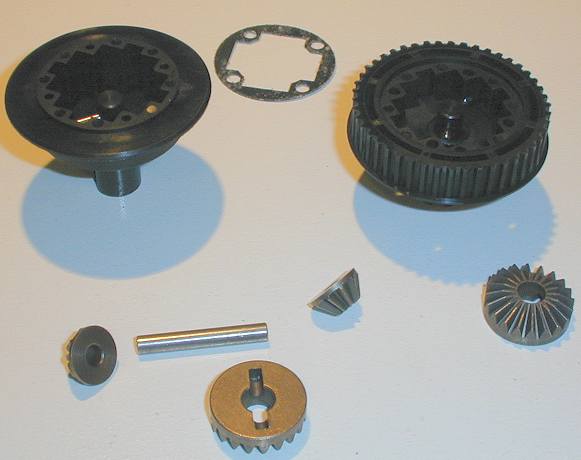
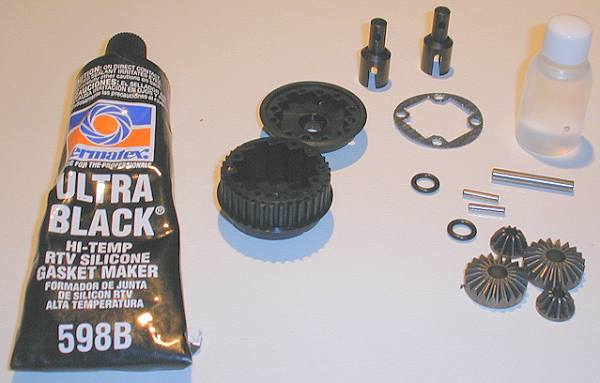
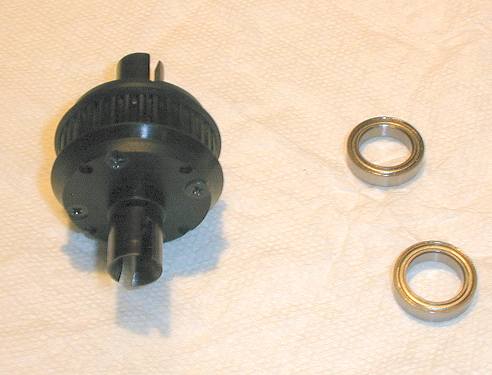
| Assembling rear diff. |
|
| |
| Installed rear diff, transmission, and belt. Installed rear cover with brake pads. |
|
| |
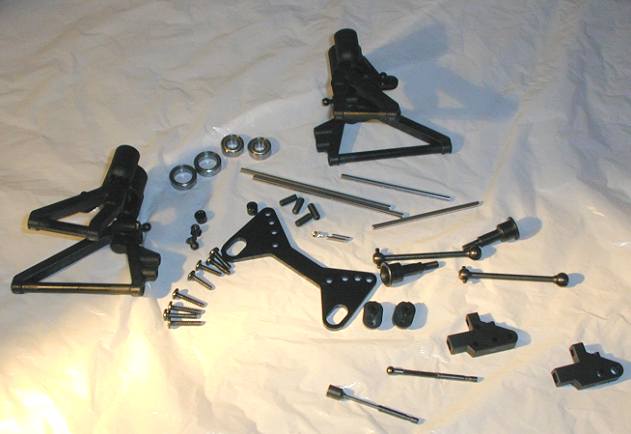
| Rear suspension parts, shock tower, and CVDs. |
|
| |
| Installed rear shock tower, CVDs, and sway bar. |
| ||
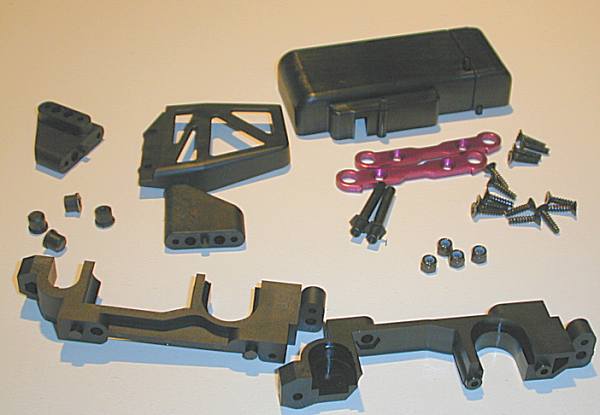
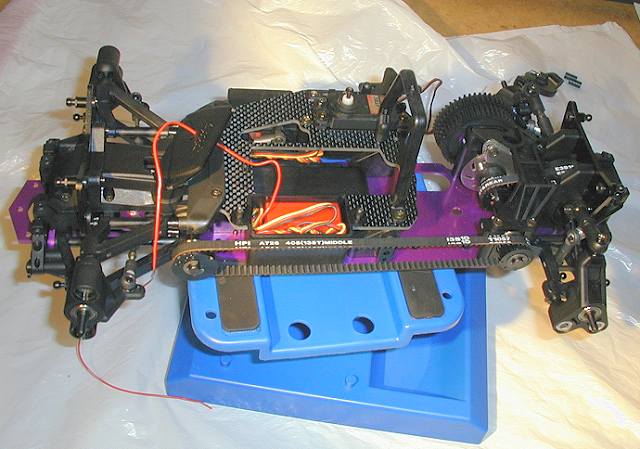
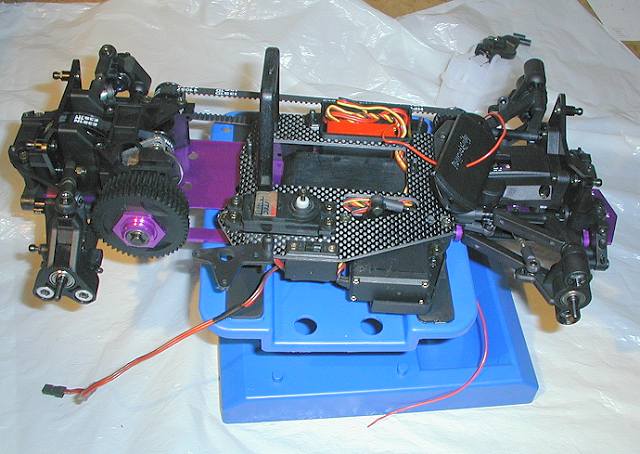
| Installing battery box, servo guard, front lower bulkhead. |
|
| |
| Assembling the front shaft. |
|
| |
| Building the front diff. |
|
| |
| Front diff assembled. |
| ||
| Installed front diff, front shaft, and belts. |
| ||
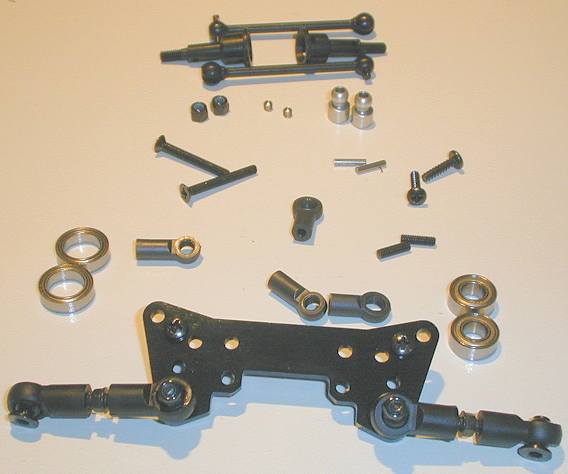
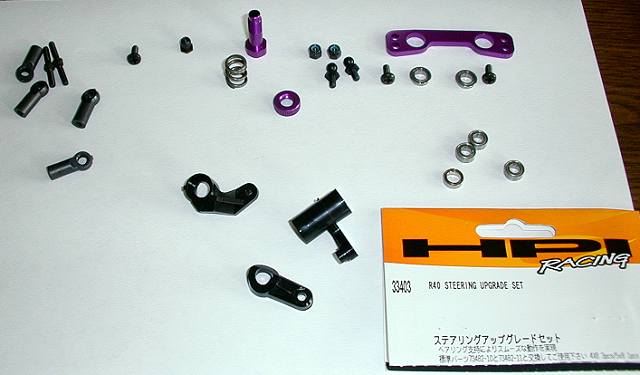
| Installing steering parts with bearing upgrade. |
|
| |
| Installing upper deck. |
|
| |
| Front arms, knuckles, shock tower, CVDs, and stabilizer. |
|
| |
| Installed arms, tower, CVDs, and stabilizer. |
| ||
| I am using a Hitech HIS-03MK 3-channel FM receiver with built-in failsafe. Also using a Hitec HS-635HB High Torque/High Speed servo for steering and a HS-322HD servo for throttle/brake. The battery switch has a charge port. |
| ||
| Wiring radio. |
|
| |
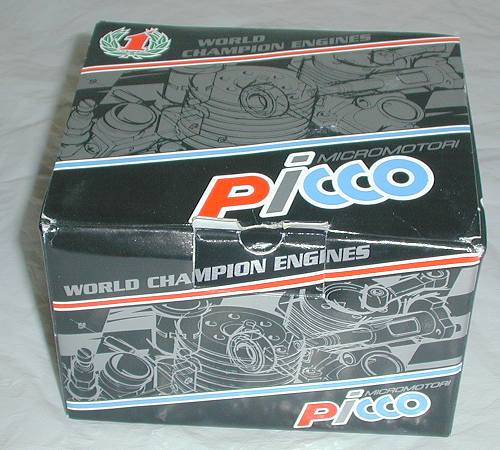
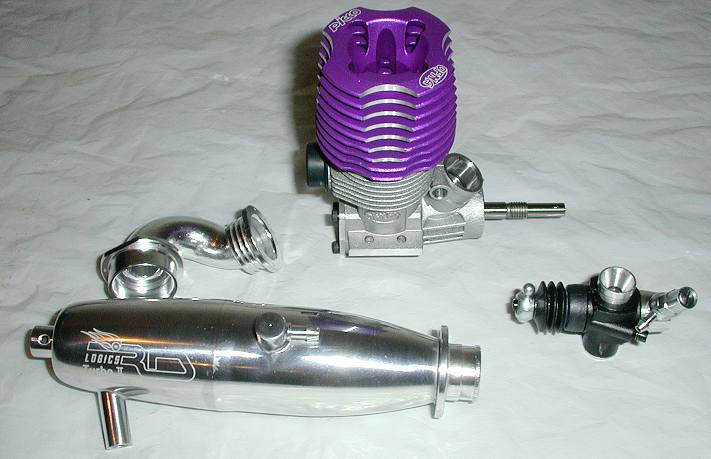
| Picco .12R 3-Port ROAR and a RD Logics Turbo II Legal pipe. |
|
| |
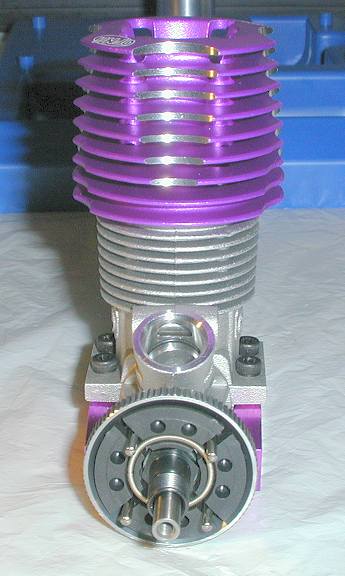
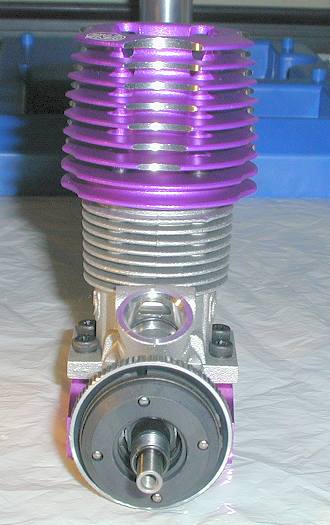
| Ready to install motor. |
| ||
| Sealing back plate and carb. |
| ||
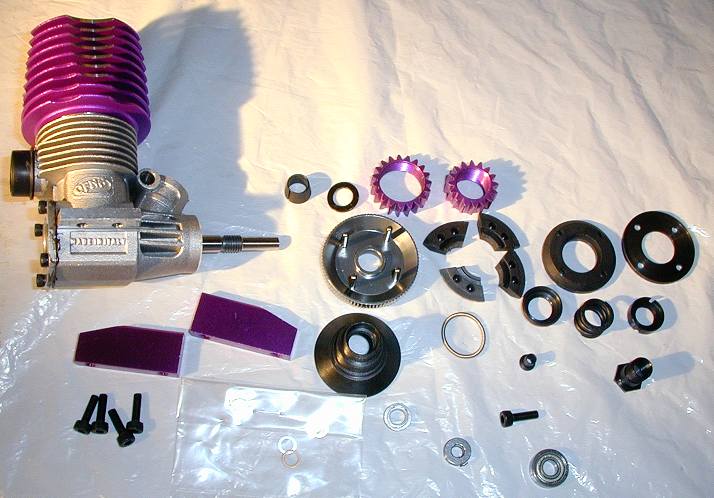
| Centax clutch parts. |
| ||
| Installed spacer, flywheel, weights, springs, clutch shoe, and adjustment collar.
Installed clutchbell, and pinions (not shown). |
|
|
|
| Building shocks with optional hard gold springs. |
|
| |
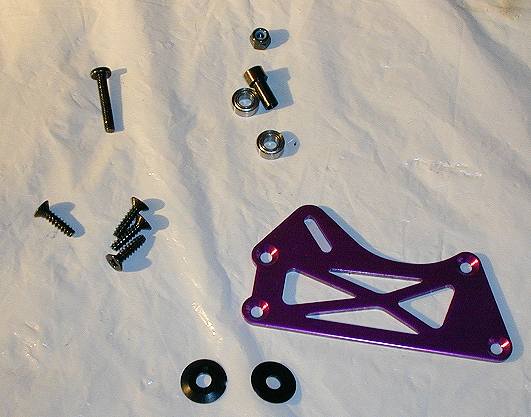
| Side bracket with belt adjuster. |
| ||
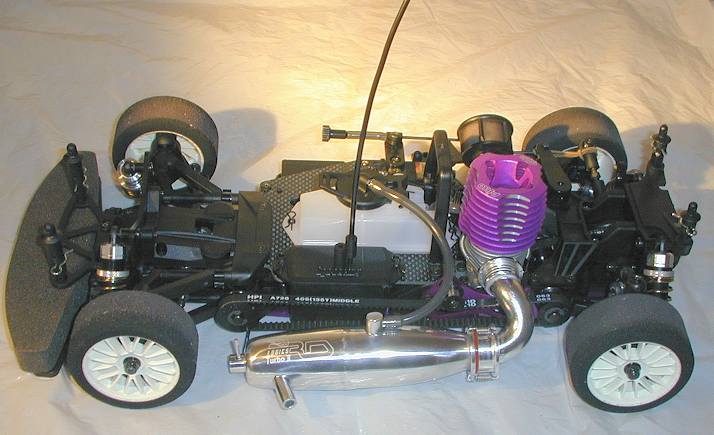
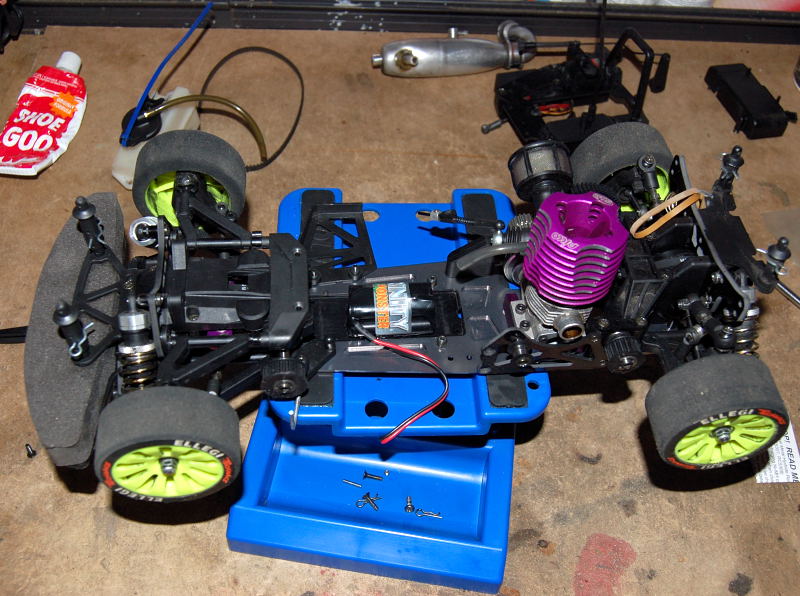
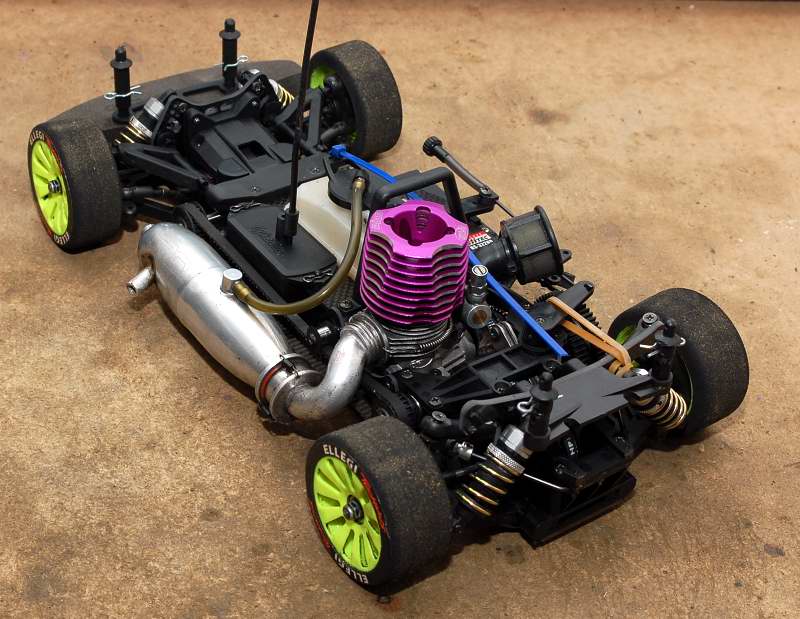
| Installed shocks, motor, and side bracket. |
| ||
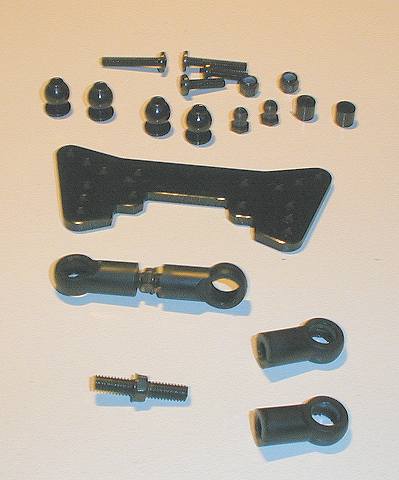
| Linkage parts. |
| ||
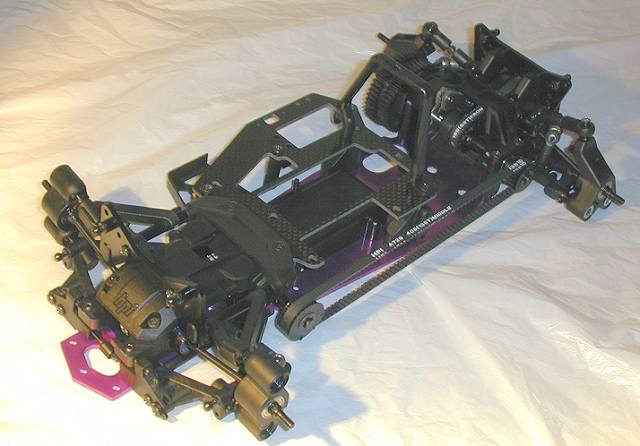
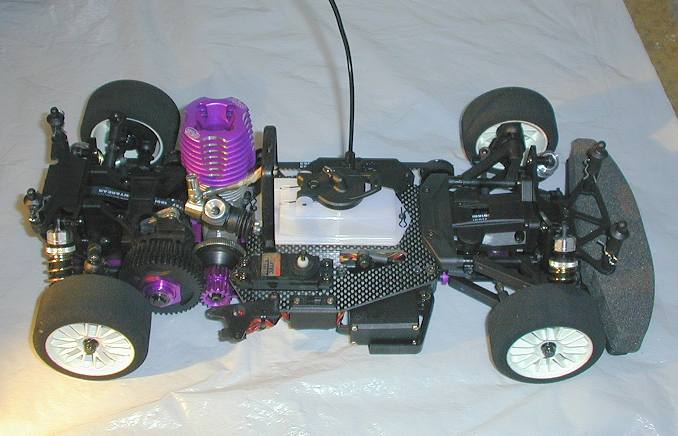
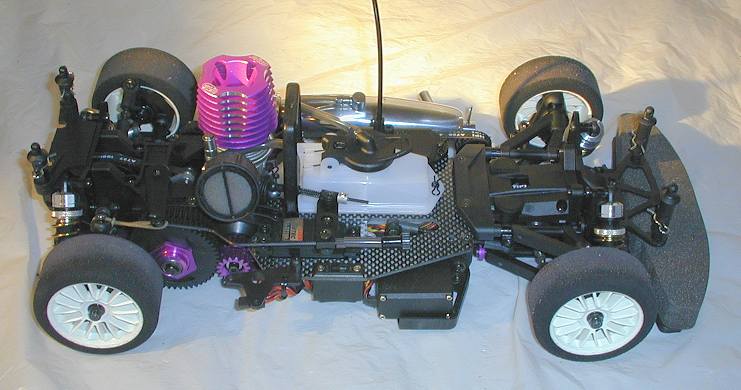
| Installed linkage, car done. |
|
| |
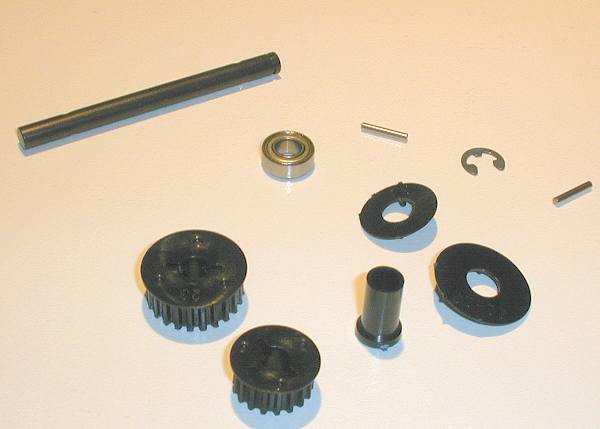
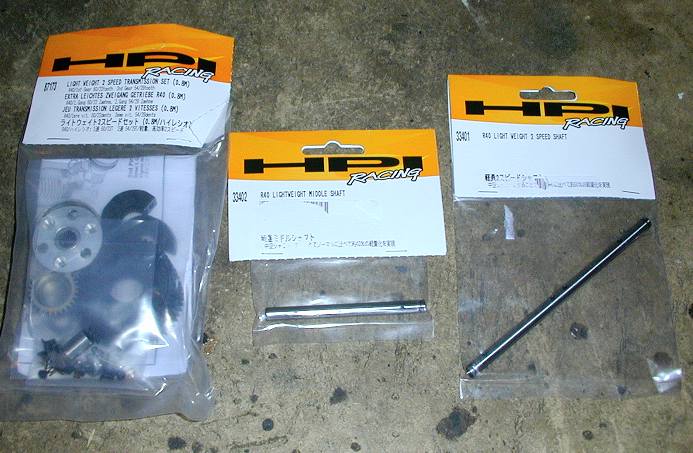
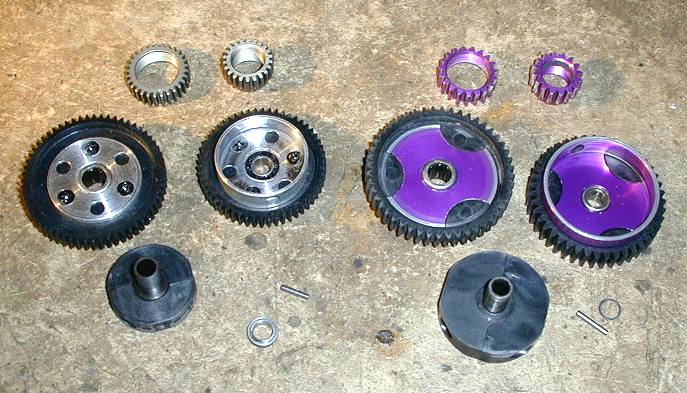
| Optional light weight transmission and shafts. |
| ||
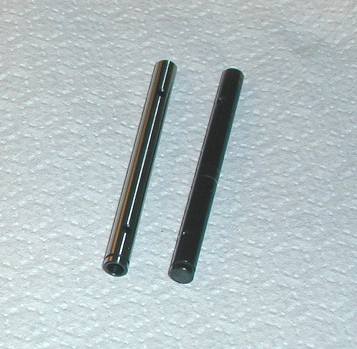
| Hollow front shaft vs the stock front shaft. Hollow rear shaft vs the stock rear shaft. |
|
| |
| Assembled the light weight (0.8M) transmission. The LW transmission is on the left and the standard transmission is on the right. |
| ||
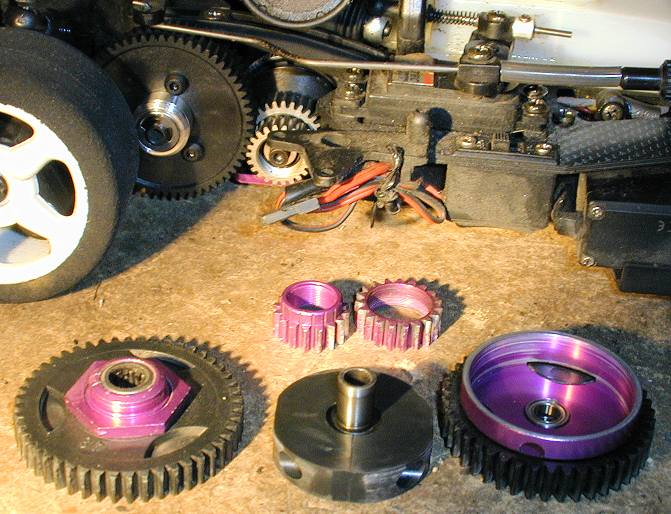
| Replaced stock transmission with the LW transmission. |
| ||
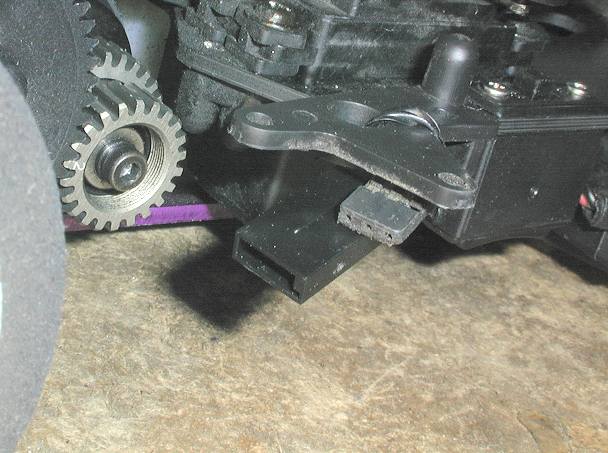
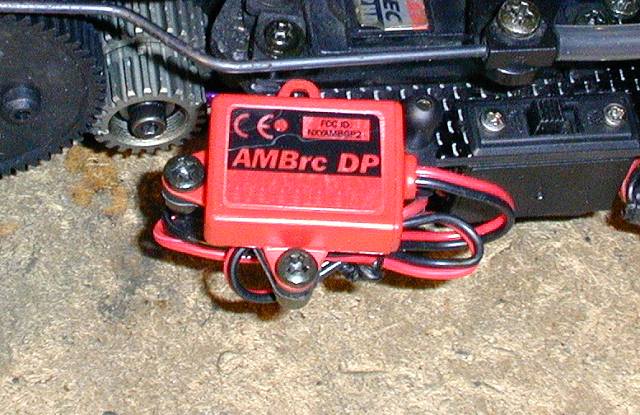
| Charge and transponder ports. |
| ||
| Personal transponder. |
| ||
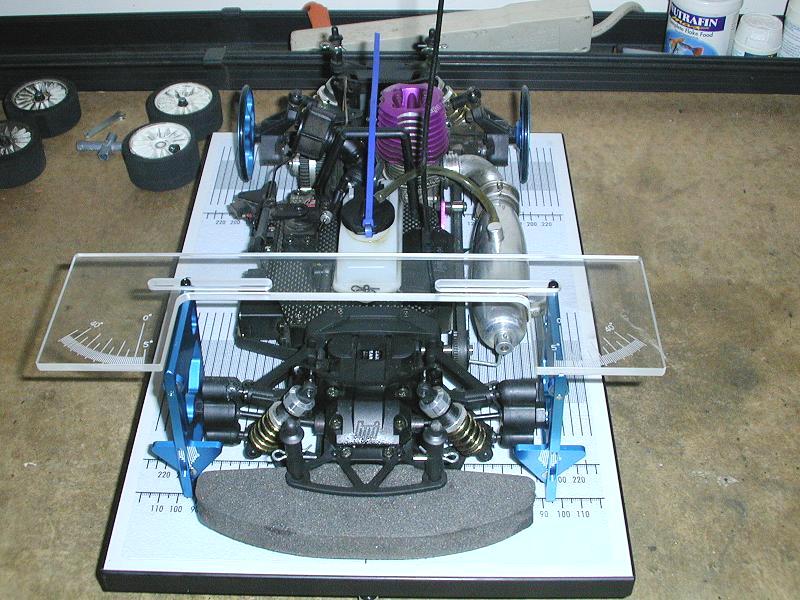
| Setup board. |
| ||
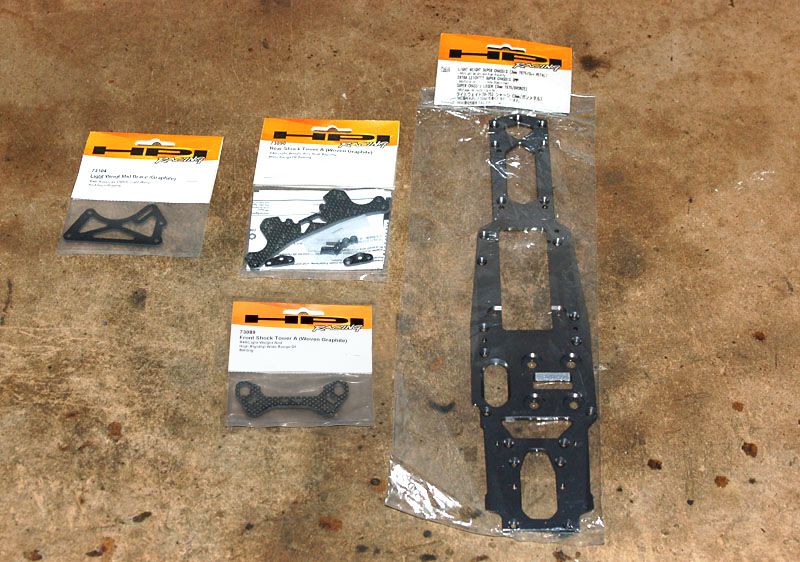
| Super chassis, graphite towers, and graphite brace. |
| ||
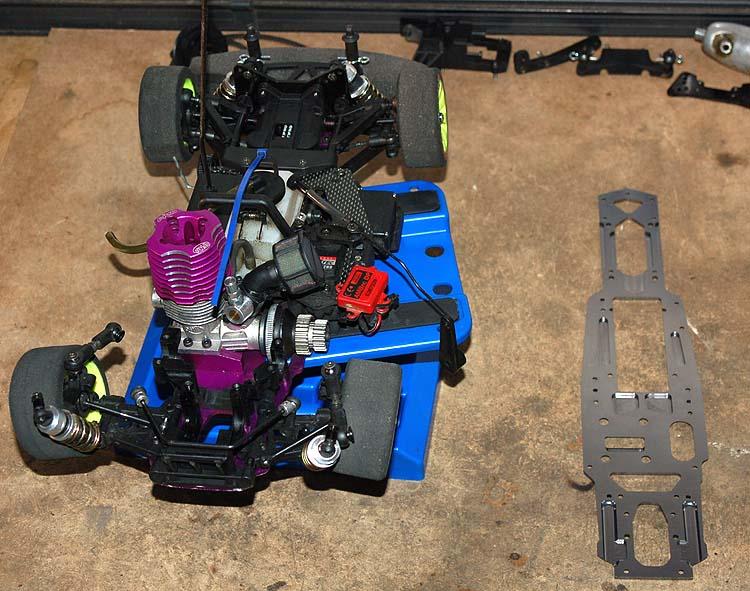
| Starting the install. |
| ||
| Transferred the front and rear bulkheads. |
| ||
| Swapped the heavy flat pack for a Trinity light-weight 5 Cell 800mAh AAA hump pack. |
| ||
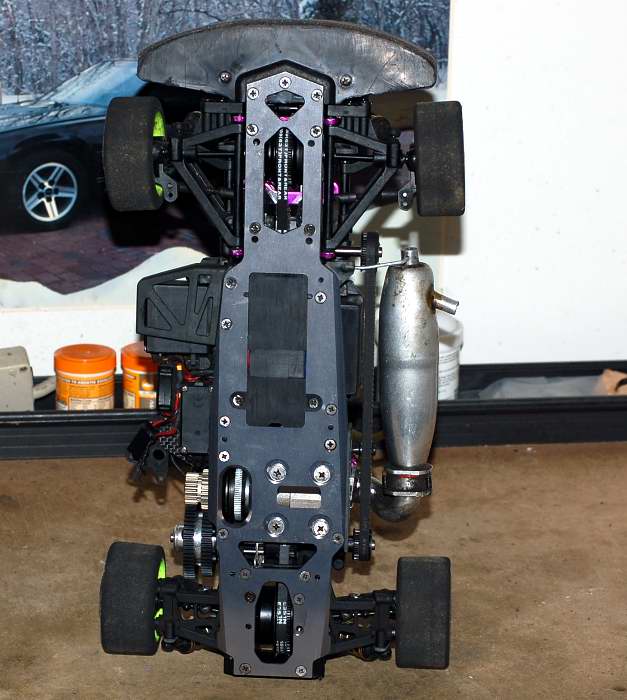
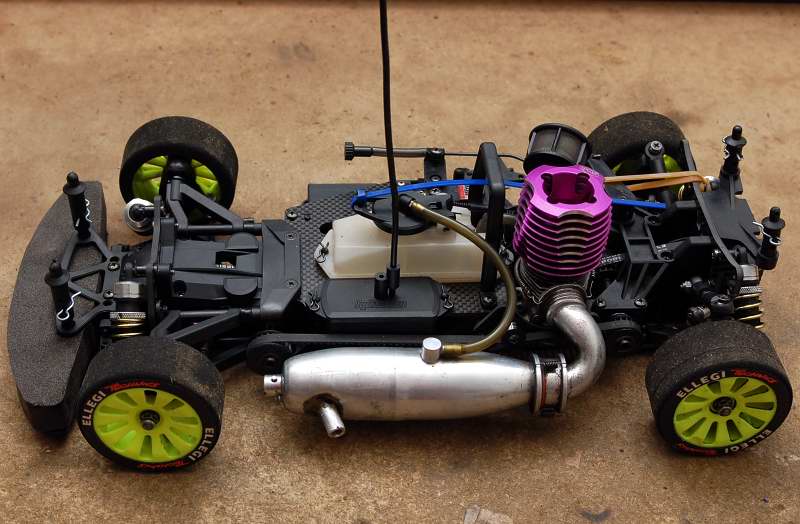
| Done, top and bottom. |
|
| |
| Done, other views. |
|
|
 |
 |